Create New Monitors
-
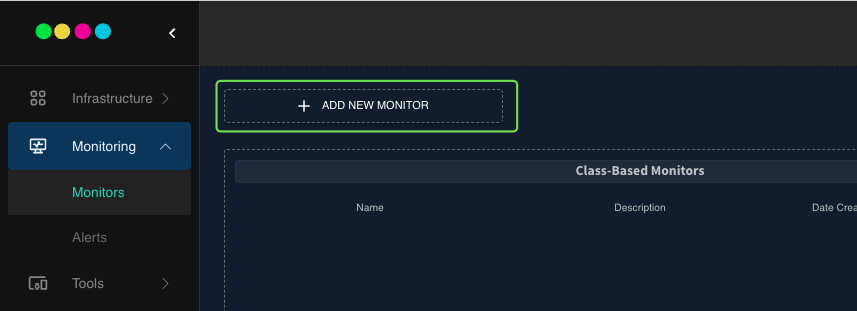
- Step 1 - Click on the
ADD NEW MONITORbutton to open a dialog.
- Step 1 - Click on the
-
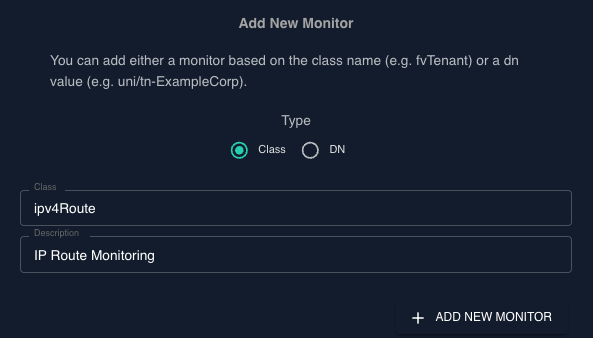
- Step 2.1 - Select the type of monitor you wish to configure and provide a description.
In the example below, a monitor for the class
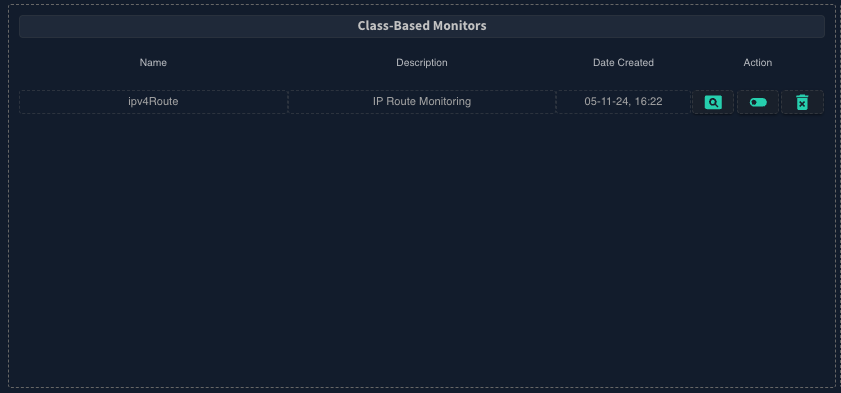
ipv4Routewill be created and a description added for proper identification.
- Step 2.1 - Select the type of monitor you wish to configure and provide a description.
In the example below, a monitor for the class
-
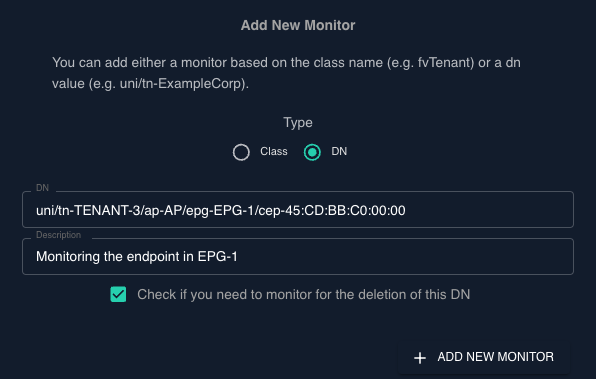
- Step 2.2 - If you choose to create a
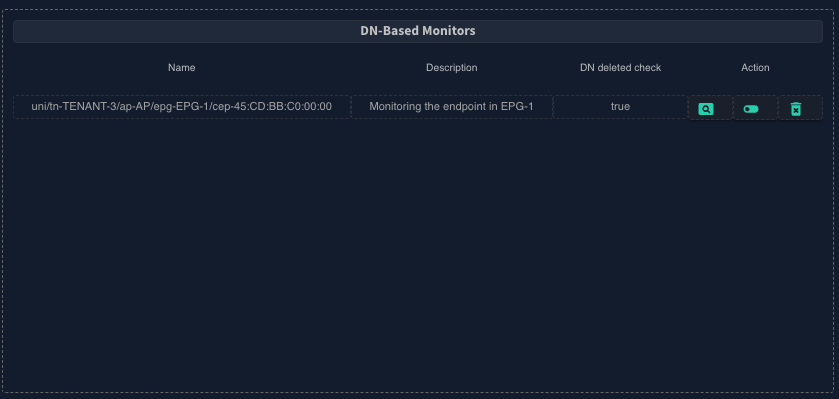
DN-basedmonitor, you also have the option to monitor the presence of the specified object. If the monitored object is deleted from the fabric, an alert will be generated. A common use case is to check if an endpoint has been removed from the endpoint database. In the example below, a monitor is created for the DNuni/tn-TENANT-3/ap-AP/epg-EPG-1/cep-45:CD:BB:C0:00:00. Additionally, the checkboxCheck if you need to monitor for the deletion of this DNis enabled.
- Step 2.2 - If you choose to create a
-
- Step 3.1 - Verify that the configured object is present. If errors occur, it may indicate that the specified class/DN does not exist or that the class/DN has already been created.
⚠️
If you have created a class monitor, such as eqptPsu, and then attempt to create a DN monitor targeting a DN within that
already-monitored class (e.g., topology/pod-1/node-103/sys/ch/psuslot-10/psu), an error will be thrown,
indicating that the DN is currently being monitored.
After the object has been created, you could either view , disable or delete the monitor.
View Monitor
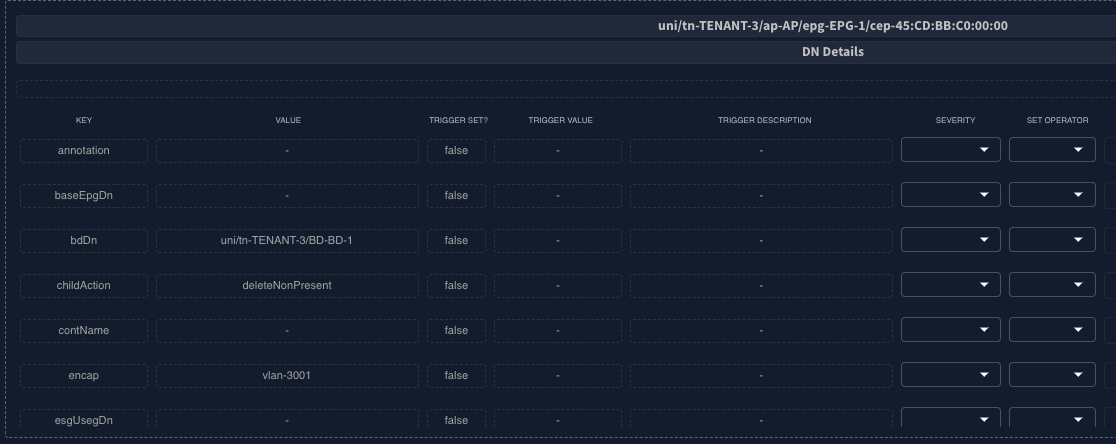
After a monitor has been created, you can view the details of the monitor. The details will map one-to-one with the APIC class object. Every object has a key and a value. The value corresponds to the current value set for that object within the APIC. This gives us the flexibility to monitor and check for changes to the value.
